There’s something deeply satisfying about creating everyday products from scratch.
Like many, I first got into homemade soap making during the COVID years. It was when I became interested in greener living and learning how to be more sustainable. What started as experimenting and self-teaching (my first few DIY soaps were… not so great) gradually turned into a broader passion for homemade products and herbal living. Over the years, I’ve learned to make my own surface cleaners, dishwasher detergent, laundry detergent, skincare products, and—of course—soap!
My hair and skincare routine is now entirely homemade, and soap making has become one of my favorite DIY projects.
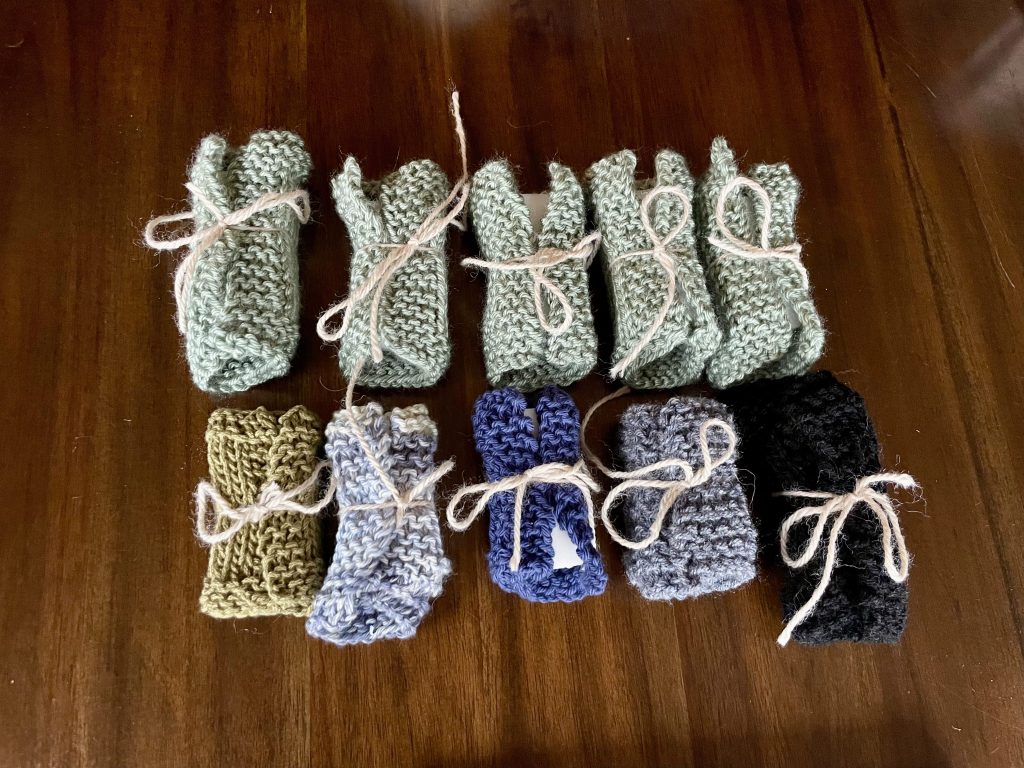
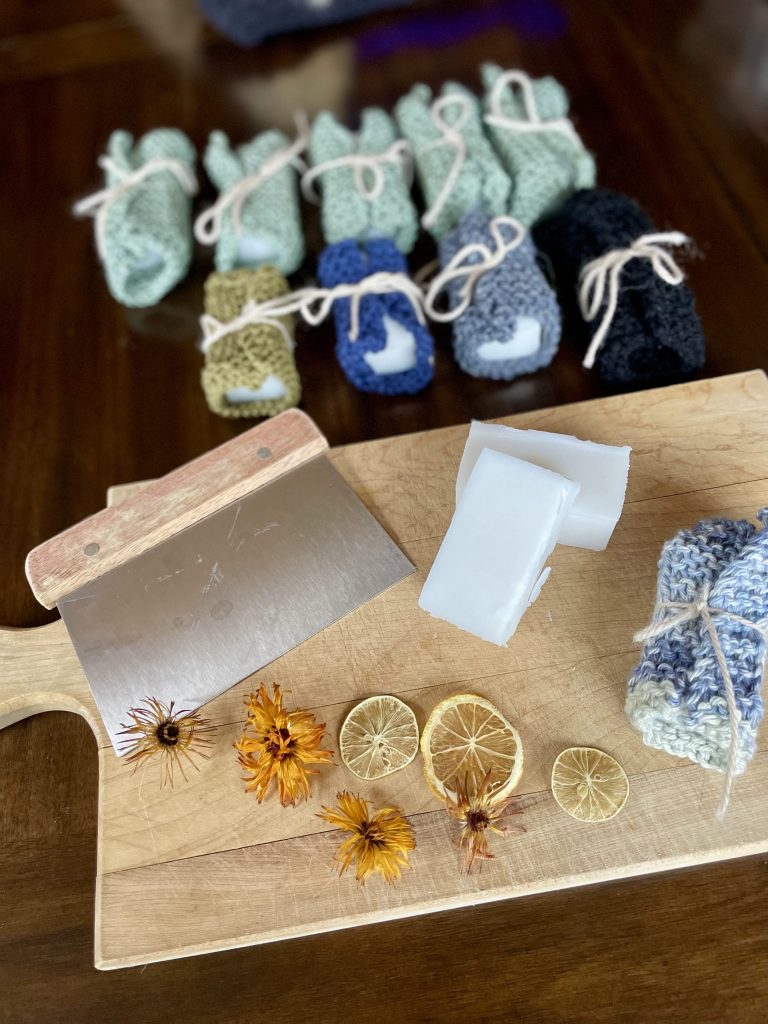
One reason I tend to make a few batches each summer is partly because it’s easier (my soap recipes use a significant amount of coconut oil, which is softer and easier to measure in warm weather) and partly because the curing process aligns with the holidays. I like to wrap my soap bars in hand knit wash cloths for an eco-friendly gift!
This year, I made a few updates to my go-to soap recipe. I added shea butter for a richer, creamier bar, castor oil to support a luxurious lather, and finely ground dried herbs for color, texture, and health benefits. While I appreciate the science behind soap making, I really enjoy the artistry of creating something both useful and beautiful.
The Soap Making Process
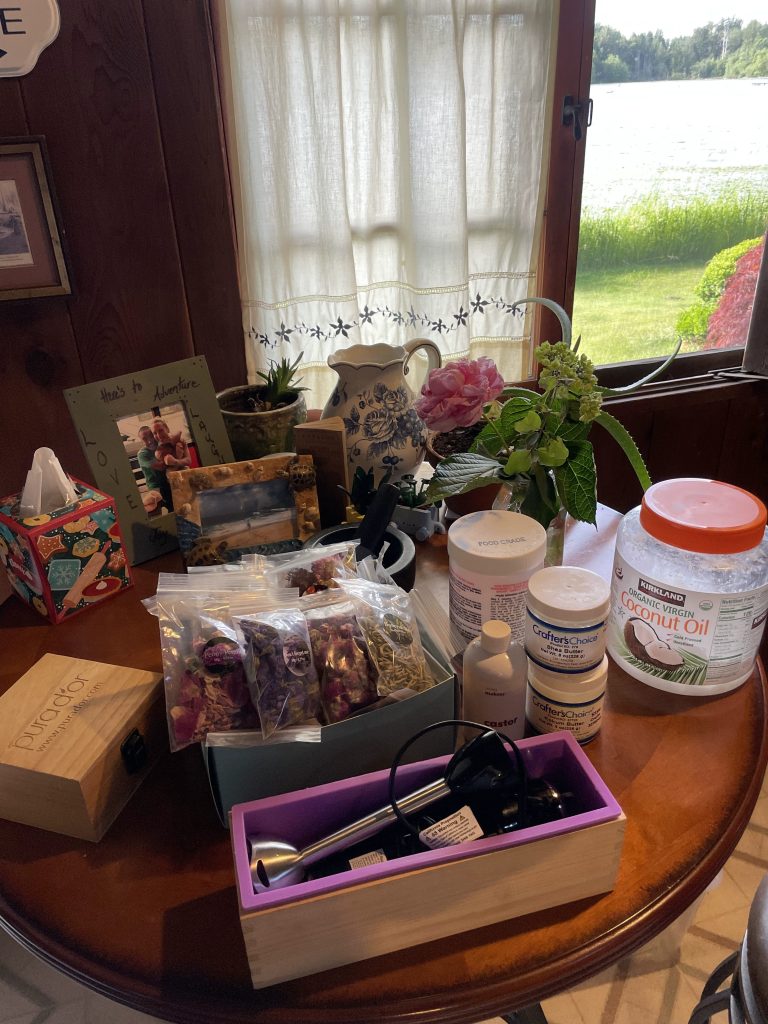
Step 1: Gathering Ingredients
Every batch begins with carefully measuring oils, lye, water, and any herbal additions. Taking time to prepare everything in advance helps the process run smoothly and safely.
I use a large microwave-safe bowl for the oils and a stainless steel bowl for the lye solution. For today’s recipe, I used dried calendula and peony petals, along with turmeric and tangerine essential oil.
Step 2: Mixing the Soap Base
I measure everything with a kitchen scale for accuracy. First, I add lye to water (never water to lye) in a well-ventilated space and stir carefully until dissolved. The mixture heats up significantly, so I set it aside to cool.
Meanwhile, I melt and combine the oils using either a microwave or double boiler—both work depending on what’s easiest that day. I then check the temperature of both the lye solution and oils using a thermometer.
Once both reach around 90–100°F, I combine them and blend until the mixture reaches “trace”—the point where the oils and lye have emulsified and begin to thicken to a pudding-like consistency. I use a stick blender reserved for DIY projects, though I started out using a whisk (it just takes much longer!).
Step 3: Adding Herbs and Essential Oils
At trace, I add finely ground dried herbs, matcha powder, or coffee grounds depending on the batch. These bring natural color, texture, and a deeper connection to the plants that inspire my herbal work.
This step is optional, and herbs may shift in color during saponification.
I also add essential oils at this stage. I tend to gravitate toward citrus scents like lemon, tangerine, and sweet orange.

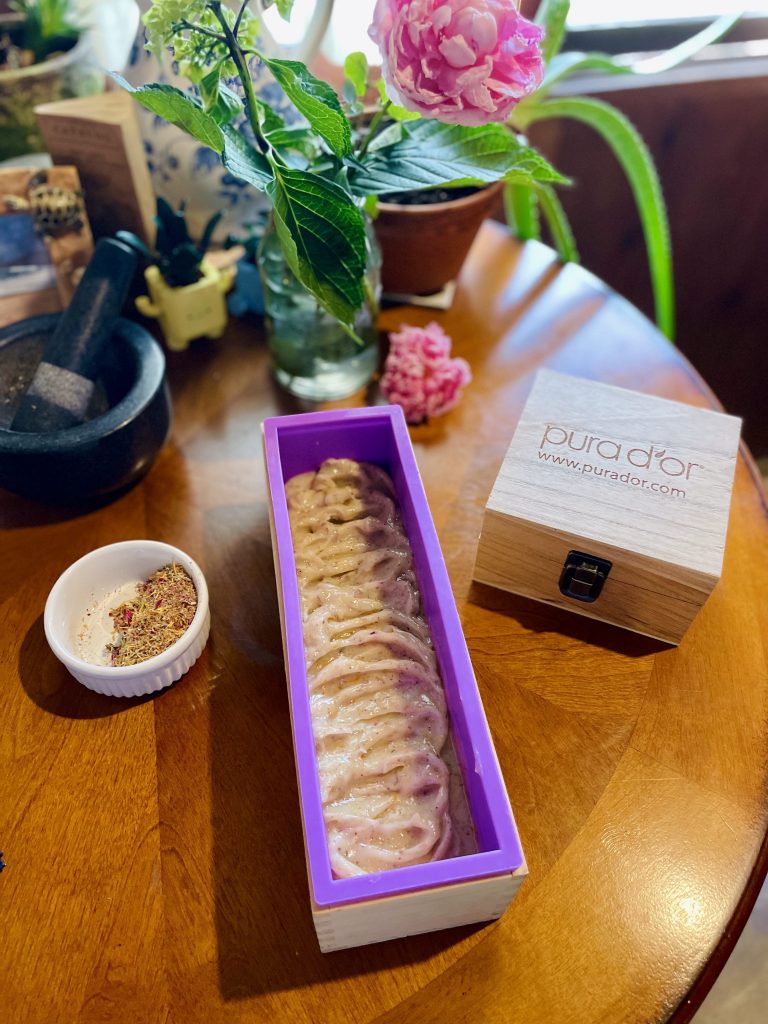
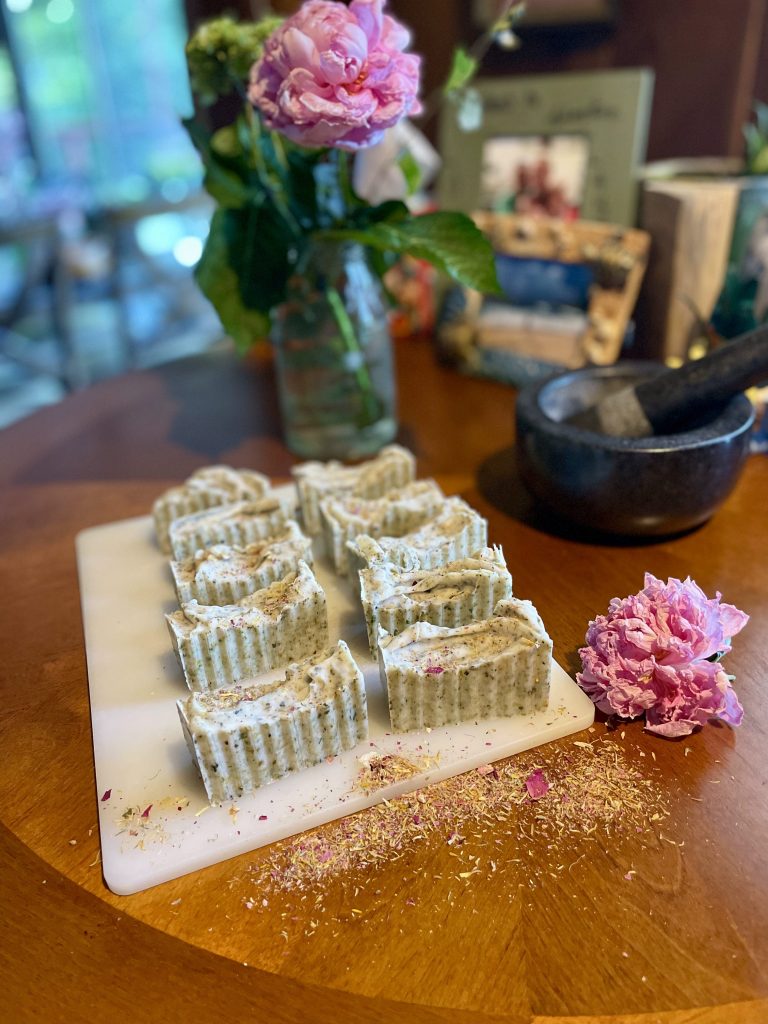
Step 4: Pouring and Molding
Once fully mixed, the soap is poured into molds and gently smoothed. Sometimes I add swirls for texture and visual interest.
The soap is left to rest for 12–24 hours before unmolding and cutting into bars.
Step 5: Curing
After cutting, the soap enters its longest stage: curing.
During this time, excess water evaporates and the bars become harder, milder, and longer-lasting. I cure my soap in a dedicated double-decker cabinet space in my bathroom that stays cool, dry, and well-ventilated, away from direct sunlight.
If I’m impatient, I’ll try a bar after two weeks, but the lather improves significantly with time. Many of the soaps I make in summer end up being gifted at Christmas. Over time, I’ve learned how scent and color evolve during curing, which helps me adjust future batches.
More Than Just Soap
One of my favorite parts of making soap is sharing it with others. I often give bars as gifts to friends and family, and I occasionally include them in herbal packages for loyal customers as a small thank-you.
These bars also travel with me. As a triathlete who spends many hours each week in chlorinated pools, I keep a bar in my swim bag for post-workout showers. There’s something rewarding about using a product I made myself after a long training session.
Soap making has become one small part of a larger journey toward living more intentionally, learning traditional skills, and creating products that reflect my values. Whether I’m blending herbs, making my own products, or pouring a fresh batch of soap, I enjoy knowing exactly what goes into the things I use every day.
If you’d like to try this batch yourself, here is my current recipe!
DIY Cold Process Soap Recipe
- 67 grams sodium hydroxide
- 150 grams water
- 350 grams coconut oil*
- 80 grams shea butter
- 25 grams castor oil
- 50 drops essential oil (or approx 25 drops of two essential oils)
- Optional: 1/4 – 1/2 cup ground, dried herbs
Equipment: kitchen scale, stick blender or whisk, 2 heat-safe bowls, kitchen thermometer, spoon, soap mold, cutter or knife.
*If you only have coconut oil, you can use 455 g coconut oil for a pure coconut oil soap bar.
Thanks for taking a peek into my process. I hope you enjoyed following along with this latest batch! Check out the short video of the process below. Follow me on socials @the_active_herbalist on TikTok and @kawaoka_coaching in IG and YouTube!

Leave a comment